
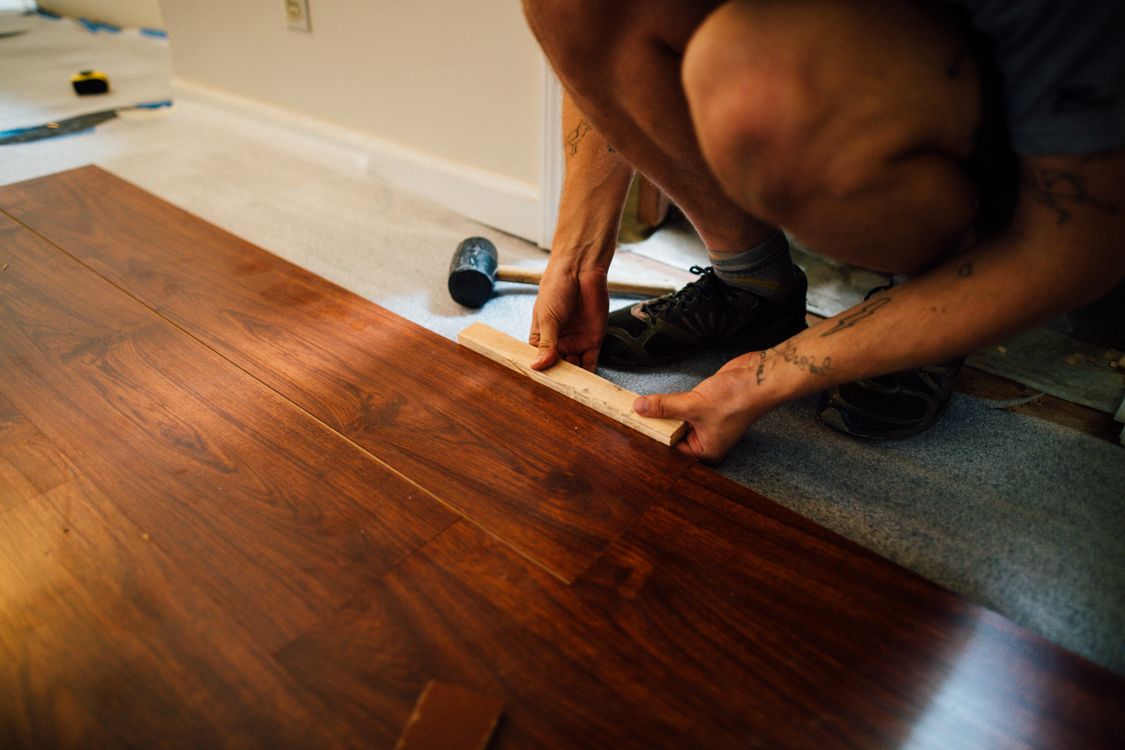
Where the Time on a Flooring Project Actually Goes
Ask most homeowners how long a new floor takes and they will guess at the installation: a couple of days for a living room, maybe a week for a whole level. That part of the guess is usually right. What catches people out is everything around it.
A flooring project is really six smaller projects in a row — decide, order, acclimate, prepare, install and cure — and only one of them involves a crew kneeling on your floor. The others run on supplier warehouses, manufacturer instructions, the moisture in your house and a contractor’s calendar. None of them can be rushed much, and each one can quietly add a week.
That matters in Kansas City more than people expect. The calendar here has hard edges: a closing that sets the day the moving truck shows up, the weeks before school starts in the Shawnee Mission and Blue Valley districts, a corporate relocation that arrives with a start date attached, and the stretch before the holidays when everyone wants the floor finished before guests arrive. When a floor has to be finished before one of those dates, the useful question is not “how long does installation take?” but “how early do I need to start the whole sequence?”
Kansas City weather adds one more variable. Humid summers and dry, heated winters move the moisture content of wood and of the subfloor underneath it, which is why acclimation and moisture readings are real steps rather than paperwork — and why a floor rushed in during a wet August can gap or cup by January.
The short version: for a typical few-room project, plan three to five weeks from first estimate to furniture back in place, even though the crew may only be in the house for one to three days.
Realistic Lead Times, Stage by Stage
The ranges below are planning numbers for a typical single-level project of a few rooms — a living room, hallway and bedrooms, or a kitchen and dining area. A small single room compresses them; a whole house, a special-order product or a subfloor that needs real repair stretches them.
| Stage | What happens | Typical calendar time |
|---|---|---|
| Estimate & quote | Measure, check the subfloor, talk through material and scope; written quote follows | Visit of 30–45 minutes; quote within about a day |
| Choosing material | Samples home, compare in your own light, settle species or product line | A few days to two weeks — entirely up to you |
| Ordering & delivery | Quantity calculated with waste, material purchased, delivery timed to the install | Days if in stock; several weeks if special order |
| Acclimation | Material sits in the conditioned house per manufacturer instructions | Commonly 2–5 days; follow the product’s own instructions |
| Contractor start | Crew scheduled once the quote is approved and material is on site | About a week with a well-run local installer; longer in peak season |
| Removal & subfloor prep | Old floor out, subfloor inspected, repairs and leveling | Often same day as install; 1–3 extra days if leveling compound must dry |
| Installation | Floor, trim and transitions | 1–3 days for most spaces under 1,500 sq ft |
| Finish & cure | Only for floors sanded and finished on site | Socks after 24 hrs, furniture after 72 hrs, rugs after 7 days |
Two things jump out of that table. First, the stage you control completely — choosing the material — is often the longest. Second, the only stage with a genuinely unknown length is subfloor prep, because nobody sees the subfloor properly until the old floor is up.
In-stock versus special order
Material lead time is the single biggest swing in the schedule. A luxury vinyl plank or prefinished oak that a regional supplier has on the shelf can be in your garage within days. A specific wide-plank white oak, a less common color, or enough matching product for a whole house may be a special order measured in weeks. Before you fall in love with a sample, ask the supplier two questions: is the full quantity in stock today, and is it all from the same production lot? A partial shipment or mixed lots can mean a visible color shift halfway across the room — or a second wait.
If you are buying the material yourself, which is how our four-step installation process keeps costs down, the installer should still tell you exactly how much to order including waste, and help time the delivery so the boxes arrive for acclimation rather than sitting in a garage for a month.
Acclimation is not optional
Wood is a moisture-sensitive material. Installers generally look for the flooring and the subfloor to read within a few percentage points of each other on a moisture meter before installation, with wider planks needing a tighter match. Many luxury vinyl products also ask for a short rest at room temperature so the planks lie flat. The manufacturer’s written instructions set the rule, and the warranty is judged against them — so the right answer to “can we skip it?” is almost always no. Keep the heat or air conditioning running at normal living conditions during this time; boxes acclimating in a closed-up house at 85 degrees are not acclimating to the house you will live in.
Working Backward From a Move-In or Listing Date?
If your home is in Prairie Village, Overland Park, Lenexa, Shawnee or Olathe, a free in-home estimate gets you a written, itemized quote — including any subfloor repair priced up front — and a realistic start date you can plan the rest of the move around.
Get My Free EstimateSubfloor Surprises: What Turns Up Under the Old Floor
Every experienced installer has a version of the same story: the carpet comes up, and the plan changes. That is not a scare tactic; it is simply the one part of the house nobody could inspect properly before demolition. The good news is that most surprises are predictable in kind, if not in location, and most add a day or two rather than weeks.
Soft or Spongy Spots
- Usually near a toilet, tub, kitchen sink, dishwasher or exterior door
- Caused by an old leak that soaked and weakened the panel
- Fix: cut out and replace the damaged section
- Must be done before the new floor — no product bridges it
Dips, Humps and Ridges
- Common where panels meet or joists have crowned over time
- Flooring is commonly specified flat within 3/16″ over 10 feet
- Fix: sand high spots, shim or fill low ones
- Leveling compound needs drying time before install continues
Squeaks and Loose Panels
- Nails that have backed out of the joists over decades
- Fix: screw the subfloor down while it is exposed
- Cheap now, very expensive once a new floor is on top
- Easy to skip on a rushed job — ask that it be checked
Moisture in Concrete
- Basements and slab-on-grade rooms move moisture upward
- Fix: test first; choose a product rated for below-grade use
- Luxury vinyl and tile tolerate it far better than solid wood
- A dry-looking slab is not proof of a dry slab
How to keep a surprise from becoming a delay
The delay rarely comes from the repair itself. It comes from stopping work to price it, approve it and buy the parts. Three habits prevent that:
- Get subfloor repair priced as a unit rate in advance. For reference, our published pricing lists subfloor repair and leveling at $2 to $25 per square foot depending on the extent of the damage, quoted separately from installation. A per-square-foot rate agreed before demolition means a soft spot is a same-day decision instead of a two-day pause.
- Walk the floor before the estimate. Bounce gently near bathrooms and exterior doors, listen for squeaks, and look in closets and at floor vents where the subfloor edge is sometimes visible. Point out anything you find.
- Build one buffer day into the plan for any room with plumbing. If it is not needed, the job simply finishes early.
A Realistic Week-by-Week Timeline
Here is how a typical few-room project lays out on a calendar when nothing goes badly wrong but nothing is rushed either. Adjust the order and delivery weeks for special-order material, and add the cure days only if the floor is sanded and finished on site.
Week 1: Measure, quote and narrow the choice
Book the estimate early in the week. Show the installer every room, closet and transition, plus any soft spots you have found. The written quote typically arrives within about a day. Bring home samples and look at them in morning and evening light, next to your cabinets and trim. Decide the product by the end of the week if you can — this is the stage most likely to drift.
Week 2: Approve, order and book the start date
Approve the quote, confirm the exact quantity including waste, and place the order. Confirm the full quantity is in stock and from one lot. Book the install date against the delivery date, not the other way around. Line up anything that must happen first: painting, trim work, appliance disconnects or a plumber to pull a toilet.
Week 3: Delivery, acclimation and clearing the rooms
Material arrives and goes into the rooms where it will be installed, with the heat or air running normally. Empty closets, take down wall hangings near the work, and move what you can yourself; arrange furniture moving for heavy pieces. Plan where pets and kids will be on install days. Paint now if you are painting — not after the new floor is down.
Week 4: Removal, subfloor prep and installation
Day one is usually removal and a full subfloor inspection, with any repairs handled against the rate you already agreed. Installation of most spaces under 1,500 square feet runs one to three days, followed by trim and transitions. Walk the finished floor with the installer before they leave and note anything that needs attention.
Week 5: Cure, move back in — or keep it as buffer
A prefinished floor or luxury vinyl is ready to live on right away. A floor finished on site needs 24 hours before sock traffic, 72 hours before furniture and 7 days before rugs. If none of that applies, week five is your buffer for a late delivery or a subfloor repair — the difference between a calm move-in and a stressful one.
What 1,000 square feet costs, for budgeting the plan
Budget and schedule tend to get decided together, so it helps to have a planning number. Using our Kansas City pricing as a reference point, 1,000 square feet of hardwood priced as materials plus installation plus finishing runs about $14,000 to $32,000 — the spread is mostly the wood you choose. Buying material yourself and paying for installation only, labor runs roughly $3,000 to $6,000 for the same area. Carpet removal averages about $1.25 per square foot on top. Installers outside the metro will price differently, especially when travel is involved, so use these as a sanity check rather than a quote. Our guide to what hardwood installation really costs per square foot breaks the numbers down line by line.
Room-by-Room Adjustments to the Timeline
The five-week plan above fits a living area and bedrooms. Some rooms add their own steps, and knowing them in advance keeps the calendar honest.
Kitchens
Appliances have to come out and go back, and a refrigerator with a water line or a gas range may need a plumber or appliance tech on both ends. Decide early whether the floor runs under the cabinets or stops at the toe kick, because that changes the order of work if cabinets are also being replaced. Kitchens also have the highest chance of a soft spot at the sink and dishwasher. If water on the floor is a daily reality, luxury vinyl is a sound, lower-maintenance choice; hardwood works well in kitchens where spills get wiped promptly.
Bathrooms and laundry rooms
Toilets and washers come out, and these rooms carry the most leak history, so budget the buffer day here. Tile adds setting and grout-cure time that plank floors do not.
Basements
Test the slab for moisture before choosing a product, not after. Below grade, solid hardwood is the wrong material; luxury vinyl rated for concrete or tile is the dependable choice. If leveling compound is needed over a rough slab, add drying time before installation.
Homes with pets
Plan where the dog or cat will stay on removal and install days, and on the first 72 hours of any site-applied finish, when claws and paw prints do the most damage. A harder species, a matte finish or a luxury vinyl plank with a tough wear layer all age better with pets, whichever timeline you are on.
Rentals and student housing
With a lease turnover window, work strictly backward from the tenant’s move-in: order early, choose in-stock material, favor products that are usable the day they are installed, and keep a full week of buffer. A floor that needs seven days before rugs is a poor fit for a four-day turnover.
Common Planning Mistakes and How to Avoid Them
Almost every late flooring project traces back to one of these. None of them are about skill; they are about sequence.
| Mistake | What it costs you | How to avoid it |
|---|---|---|
| Booking the install before the material is confirmed | A lost start date and a spot at the back of the queue | Confirm stock, quantity and lot first; then book |
| Ordering exactly the measured square footage | Running short mid-install and waiting on a mismatched lot | Order the quantity the installer calculates, waste included |
| Skipping or shortening acclimation | Gapping, cupping or a voided product warranty months later | Follow the manufacturer’s instructions; keep HVAC running |
| Assuming the subfloor is fine | A mid-job pause to price and approve repairs | Agree a subfloor repair rate before demolition |
| Painting after the floor goes in | Drips, tape damage and a crew working around a painter | Paint walls first; touch up trim last |
| Scheduling move-in the day after install | Furniture on an uncured finish, or a missed moving truck | Add cure days plus a buffer week to the calendar |
| Comparing quotes on the headline rate | Removal, trim and repairs appear later as change orders | Compare all-in written scopes with the same line items |
One more that is easy to overlook: treating do-it-yourself as the fast option. For a floating luxury vinyl floor over a flat subfloor, a confident DIYer can do well. For nail-down or site-finished hardwood, weekend work tends to spread a two-day job across a month, and the mistakes — wood laid before it acclimated, a soft spot covered over — are permanent. Neither route is wrong; just be honest about which one your calendar can absorb.
Choosing an Installer Who Can Hold the Schedule
A good installer is not only the one with the best photos. It is the one whose process makes the timeline predictable. Whether you are hiring in Prairie Village, Overland Park or anywhere else in the metro, these questions separate a plan from a guess:
- When can you realistically start once material is on site? A specific answer is a good sign; “we’ll fit you in” is not.
- How is subfloor repair priced if you find a problem? Look for a unit rate agreed before demolition.
- Who takes moisture readings, and will you record them? This protects the product warranty.
- Is removal, haul-away, trim, transitions and furniture moving in the quote? Ask for them as separate lines.
- What workmanship warranty do you offer, and how quickly do you come back? Distance matters here; a crew based across the metro is slower to return than one already working nearby.
- Can I see recent reviews and nearby finished work? Recent, local reviews say more about schedule reliability than old ones.
A written, itemized scope with a confirmed start date is worth more than a lower headline rate. The cheapest quote is the one that does not grow after the carpet comes up.
Where we work: Midwest Flooring Company is based in Prairie Village and installs hardwood, luxury vinyl and custom tile in five Johnson County cities — Prairie Village, Overland Park, Lenexa, Shawnee and Olathe. We keep our map small on purpose, because that is what lets us hold start dates and return quickly for warranty work. If you own or are buying a home in any of those five cities, we would be glad to measure it and put a real start date in writing.